Uncategorised
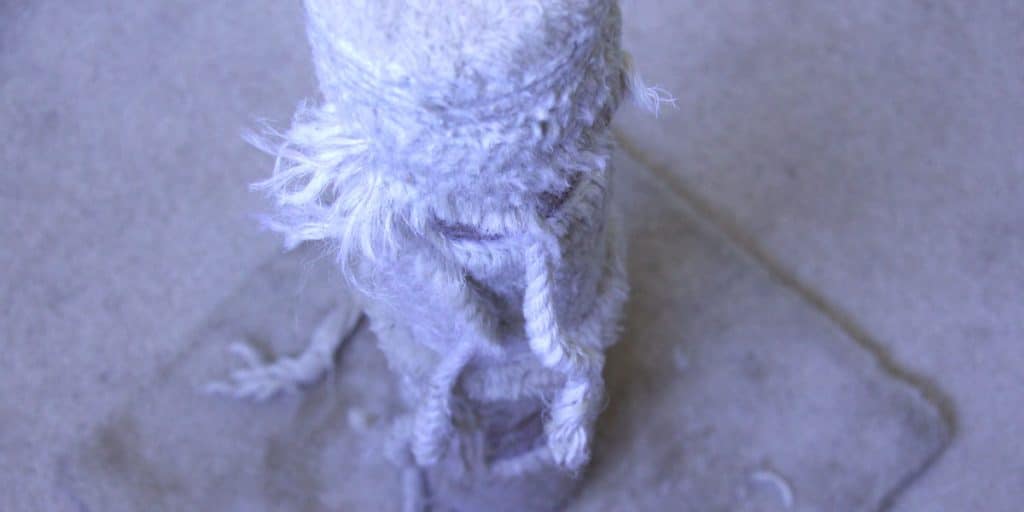
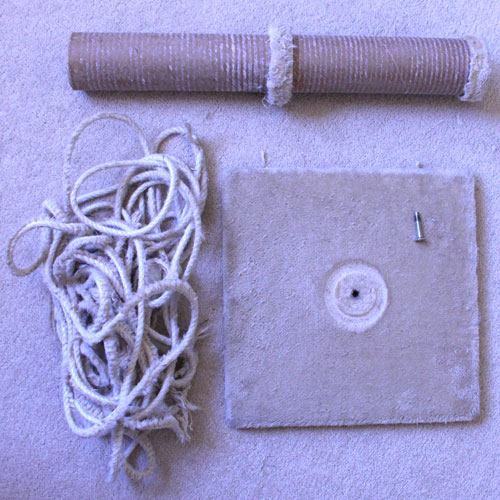
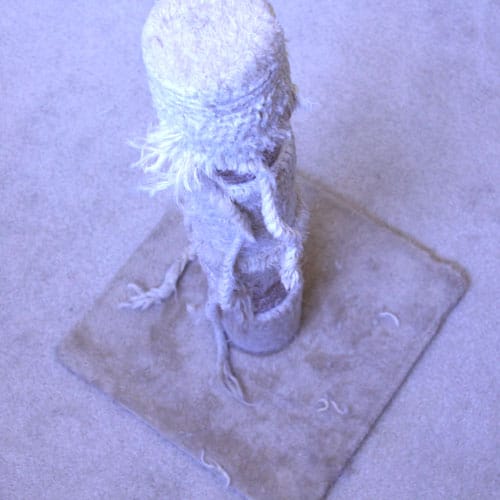
How to repair a cat scratching post
Repairing your cat’s well loved scratching post is sustainable, cheap and easy!
These simple instructions don’t require any special tools. Just some feline sisal fabric, which you’ll find in the Kitska store, in a range of pawesome colour options. In these instructions I used the cream sisal.
Got a question about how to use sisal for your project? Send it my way!
Here’s what you’ll need
|
 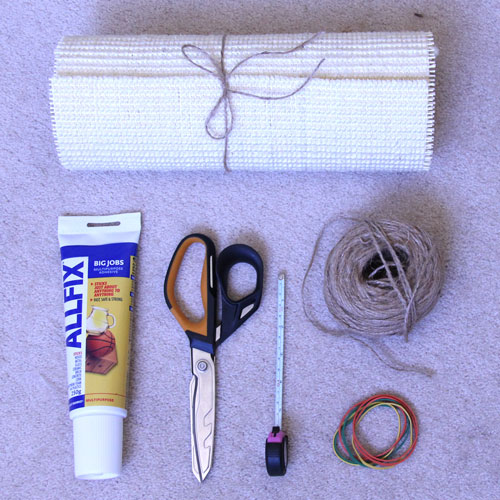 |
Also helpful but not essential
|
 |
1 |
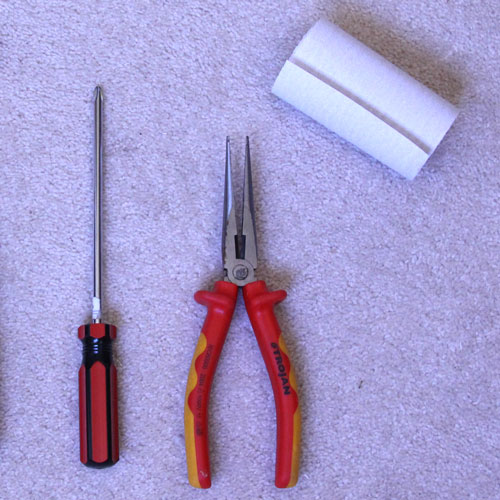
Strip the old material off the post. Pliers are handy for this if you have them. Be careful of any sharp staples or nails. If you have sandpaper use it to sand off the old glue. If you have a screwdriver, remove the screw that secures the post to the base. This makes measuring the post easier. |
|
2 |
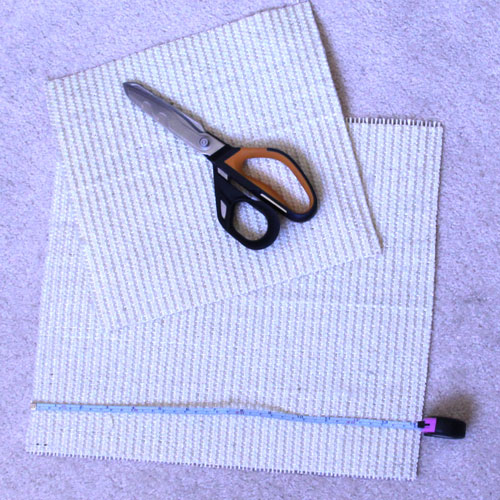
Measure the sisal. Use the tape measure to work out the height of the post. Wrap the sisal around the post to get the width you need. |
 |
3 |
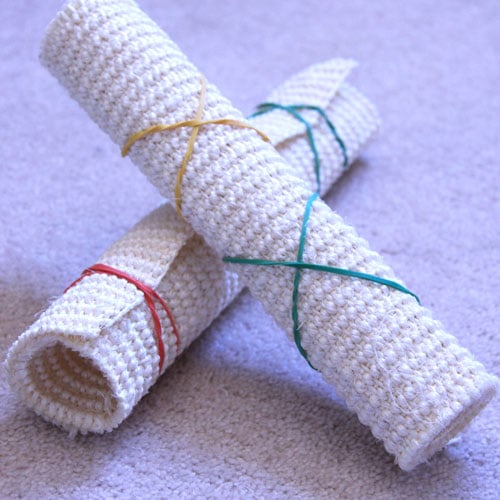
Pre-shape the sisal. Roll the sisal up in the direction you want to wrap it around the post and secure it with rubber bands. Let it sit for a few minutes to start taking shape. This will make it easier to wrap it onto the post. |
 |
4 |
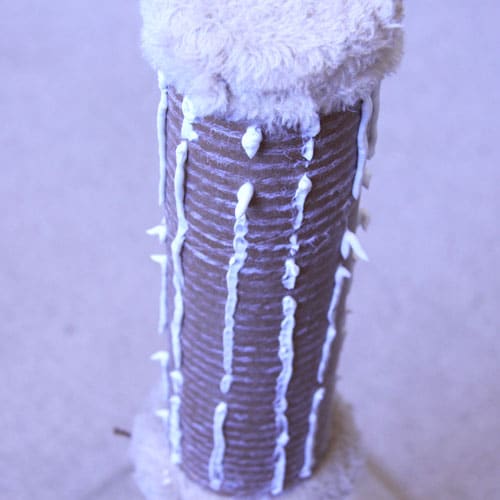
Apply glue to the post. Apply the glue to the post, according to the instructions on the label. It’s usually recommended to apply the glue ing long beads, evenly spaced apart. For a standard size post 2cm spacing is about right. |
 |
5 |
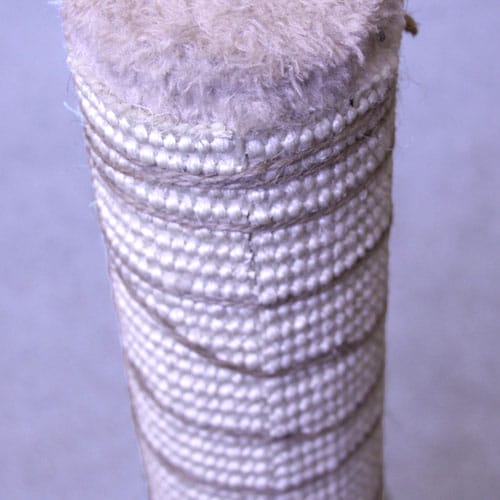
Wrap the sisal onto the post and secure with string. Wrap the sisal onto the post as tightly as you can, then without releasing it, wind the string around it to hold it in place. Make sure the string evenly covers the length of the post. |
 |
6 |
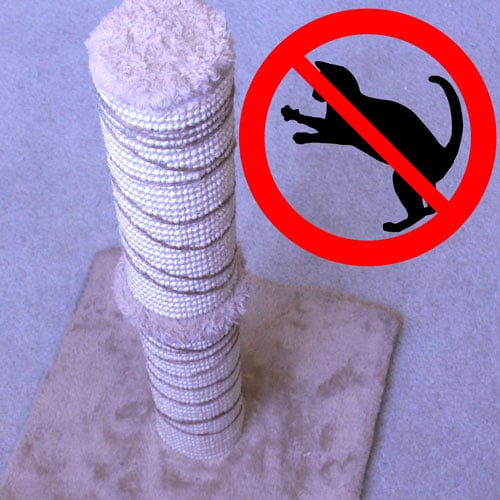
Let the glue cure. Check the label for how long your glue needs to dry and cure, usually this is around 24 hours. KEEP AWAY FROM CURIOUS KITTY CLAWS! |
 |
7 |
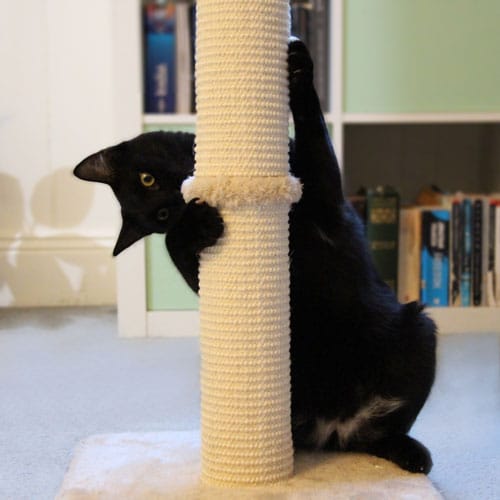
Unwrap string and enjoy! |
 |

